2 Install Windows 7
The second part of our assessment was to install windows 7 on a separate Virtual Box, to act as the client to the server.
As per the server box, I set up a Virtual box for a Windows 7 Installation, 20g hard drive but only 512k Ram as the physical computer struggled to run both server and client simultaneously. I mounter the W7 ISO in the DVD drive and booted the Windows 7 box up.
This is the first screen that pops up, I selected my language and time\currency format.
Next is the familiar Install Now screen. I did the obvious and clicked install now.
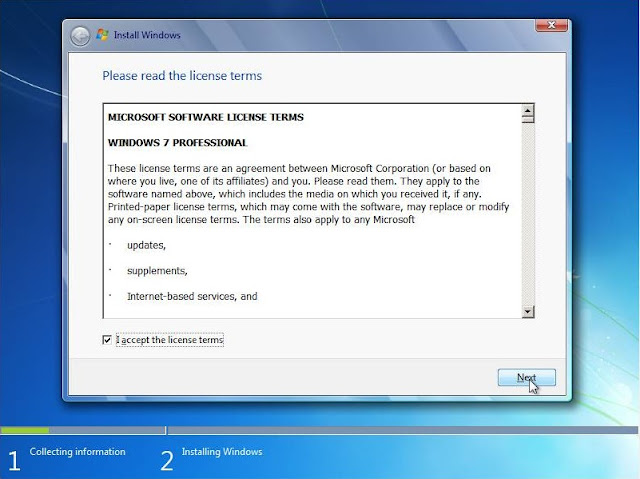
Basically the next button remains greyed out until you check the accept box.
Unless you are upgrading from a previous version there is no need to click upgrade. So i clicked custom to do a fresh install.
I didn't have much of a choice when it came to choosing a disk space to put the OS on. But if you were running multiple hard drives, this is where you would pick which disk to install windows on.
Now is the time to grab a coffee while windows installs itself to the disk.
Once windows installed it setup a series of final configurations for the user to enter.
This is where i create a user name for myself and where i give the computer a name so i can recognize it on a network.
Now i enter a password for the user account, this is not compulsory but recommended especially if there is more than 1 person using the same computer.
Enter the product key to verify the copy of windows was bought and paid for.
I set my local timezone.
And this completes the final configuration tasks. I can now use windows


0 Comments:
Post a Comment
Subscribe to Post Comments [Atom]
<< Home